Growing Guides:
How to Grow Fritillaria Bulbs
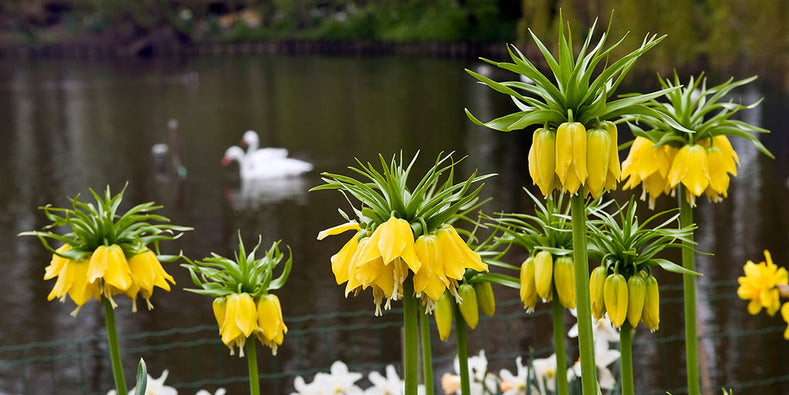
Fritillaria are unsung garden heroes that have been quietly ornamenting gardens and meadows for hundreds of years. These understated exotic flowers come in a variety of colours, patterns, shapes and sizes, and are worthy of more prominence in gardens and landscapes. Follow our simple guide to growing Fritillaria bulbs and discover their beauty for yourself.

Planting Fritillaria bulbs:
Follow our simple step-by-step guide to planting Fritillaria bulbs:
- Fritillaria bulbs are planted In Autumn, before the ground freezes. Pick a sunny spot with good drainage
- Fritillaria bulbs are different to the more common onion-style bulbs as they are rounded and often have some roots on the bottom and a spike or indentation on the top. Some varieties will have a hole in the top instead of a spike, this is where the previous year's stem grew and is perfectly normal, even though it looks unusual. Fritillaria bulbs should be planted with the spike, indentation or hole pointing upwards and the roots down.
- Follow the general rule of thumb when planting fritillaria bulbs and give the bulbs at least 2 times their height of soil above them, drop the bulb in, and cover with soil.
- Leave approximately 10cm between each bulb. If you are planting in containers, you can cluster them a little closer together.
- After planting, water well so that the soil above the bulbs settles.
- Fritillaria bulbs will flower in Spring. After the flowers die down, allow the plant to enjoy a rest period - there is no need to water much during this period. Leaves will turn yellow and die back and at this point you can choose to tidy up the plant and remove the old leaves or just let nature take its course.

