Growing Guides:
How to grow Jumbo Amaryllis
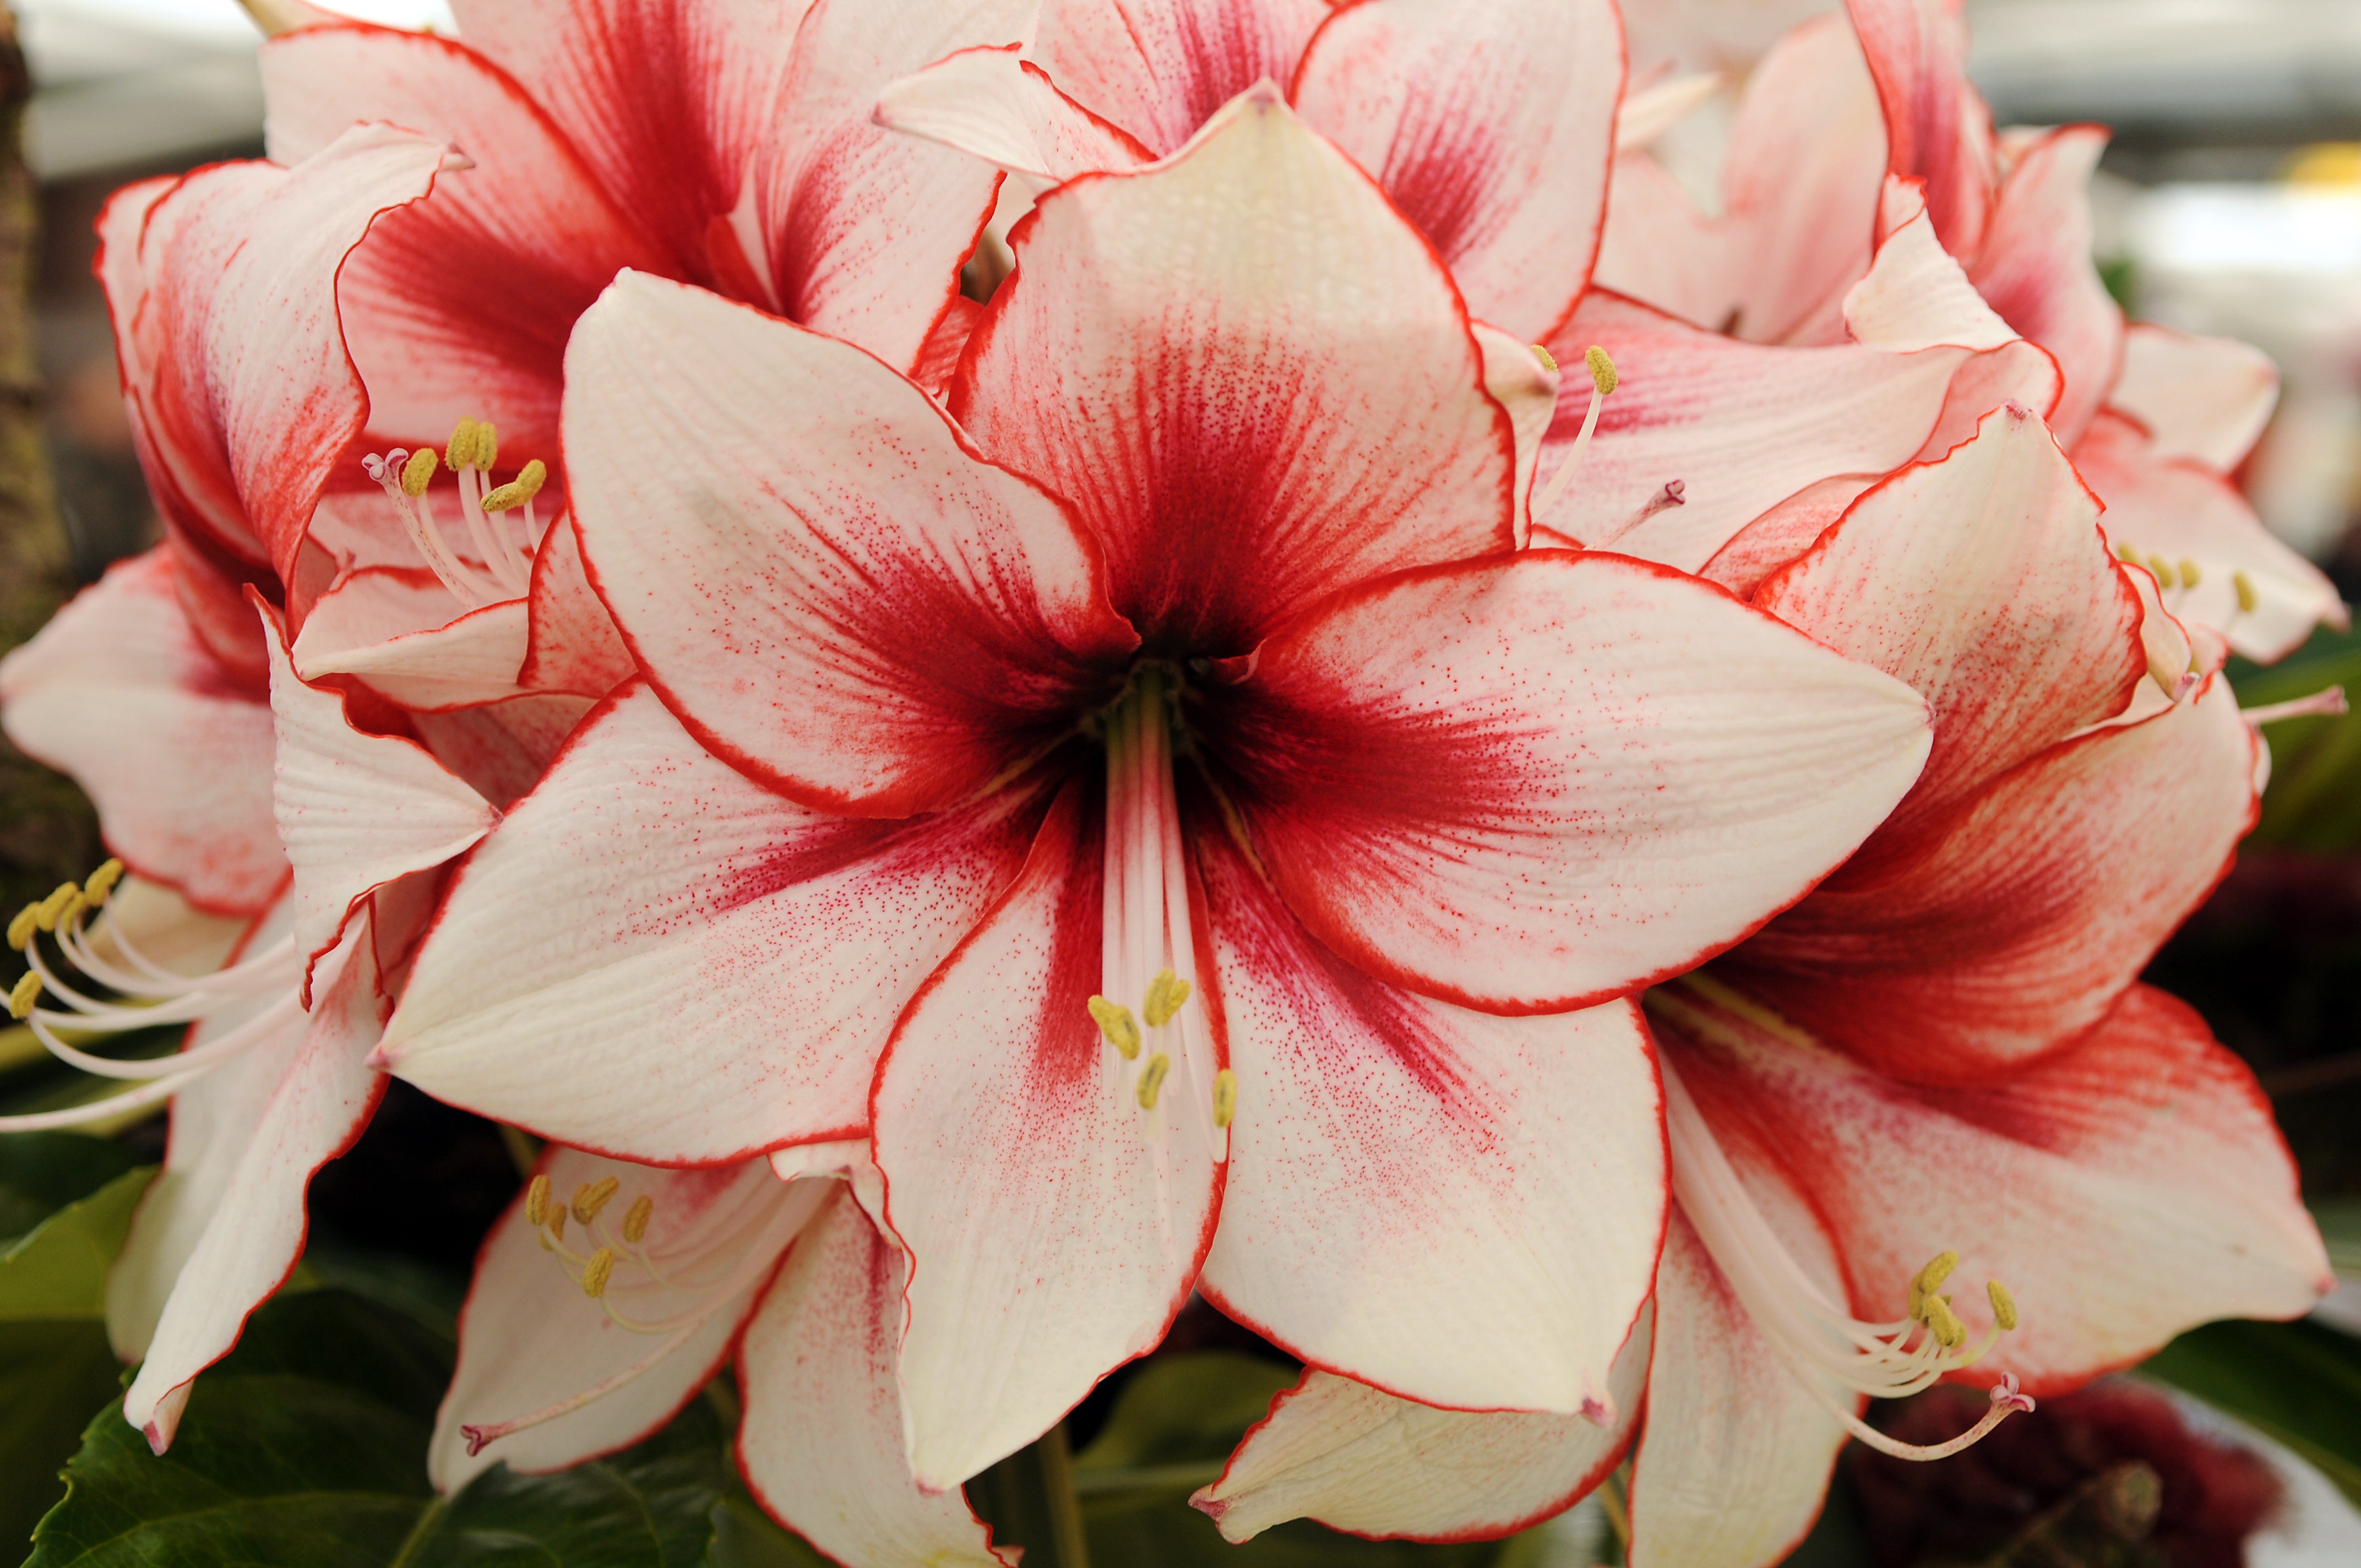
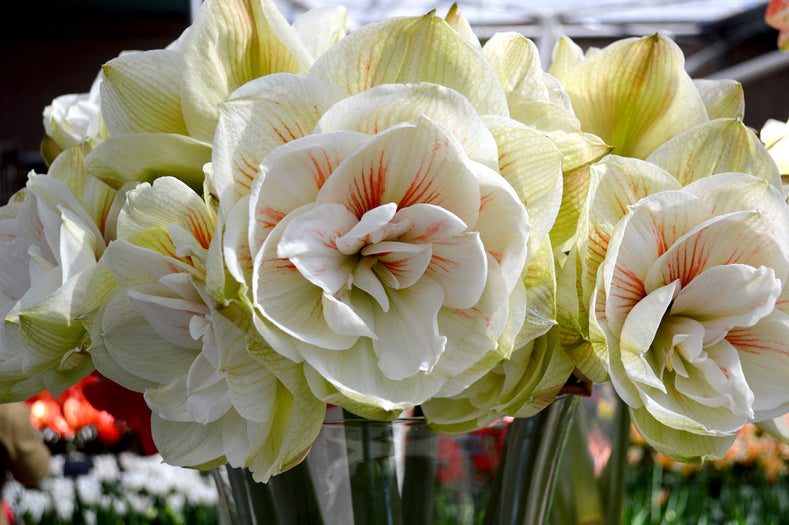
These jumbo tropical beauties may look like they need an expert’s touch but believe it or not Amaryllis bulbs are actually one of the easiest bulbs to grow – and not only easy, these huge striking and vibrant blooms are also fast growing. Once you’ve tried it, prepare to be hooked, before you know it you will want to fill your house with every variety of these fabulously vibrant blooms.

How to plant jumbo amaryllis bulbs (indoors):
- Your pot or container will need to be heavy enough to support the weight of the tall sturdy stems and huge blooms as the flower grows. Containers should weigh a kilo or so prior to planting so it’s a good idea to fill the empty pot with rocks, pebbles or sand to increase the weight. The diameter of the pot should be around 2-5cm larger than the diameter of the bulb. Amaryllis like a snug fit! If planting several bulbs in one container or pot, pack them tightly together with no space between them.
- Fill your container with well-draining soil. Amaryllis bulbs will quickly rot if they are sitting in waterlogged soil.
- Plant the Amaryllis bulb with around 2.5cm of the top of the bulb peeking out of the soil. You shouldn’t cover the bulb completely.
- After planting, water well so that the soil above the bulb settles. Do not water again (or water very sparingly) until you see the first leaves emerge.
- Place your pot or container in a bright location, such as a windowsill. Amaryllis like plenty of light.
- Amaryllis tend to lean towards the light, so as the flower stems begin to grow, turn the pot or container regularly so that the stems will continue to grow straight.

How to plant jumbo amaryllis bulbs (outdoors):
- In Autumn, choose a spot that is mostly sunny or has only partial shade and has fairly well-draining soil.
- Plant the Amaryllis bulb with around 2.5cm of the top of the bulb peeking out of the soil. You shouldn’t cover the bulb completely.
- Make sure you place the bulb the right way up - paperwhite bulbs look like a little onion with a slightly pointy head and sometimes with wiry roots growing out of the underside. Plant with the pointy head / spike pointing up. The top couple of cm of the bulb should be visible above the planting medium (don't completely bury the bulb) and try to use a minimum of 3 bulbs per container as paperwhite bulbs perform well when densely packed.
- If planting in beds, leave at least 8cm between each bulb. If you are planting in containers, you can cluster them a little closer together.
- After planting, water well so that the soil above the bulbs settles. Do not water again (or water very sparingly) until you see the first leaves emerge.
- Amaryllis bulbs can only be planted outside in zone 9 or 10 or RHS settings H3 and H4. If you have freezing temperatures during winter, you can't plant amaryllis outside in your area. Amaryllis bloom in the garden during March, April, or May, depending on the variety. Some may produce bloom spikes again in Autumn. Often, second or sometimes even third flower stalks will develop some time after the first flowering. After flowering, leave the foliage alone and don't trim it off immediately as the leaves help the plant store energy for future growth. In warmer zones or locations, leaves are evergreen and will remain green and attractive year-round.
- During the summer, let the leaves soak up lots of warmth and sun. Water lightly and keep good drainage.
- The following Autumn, your amaryllis bulbs will benefit from a rest period before beginning a new flowering cycle. Lift the bulbs and bring them indoors, trim all foliage and store in a dry, dark location, without watering them, for up to 12 weeks. After 12 weeks, begin step 1 again.

