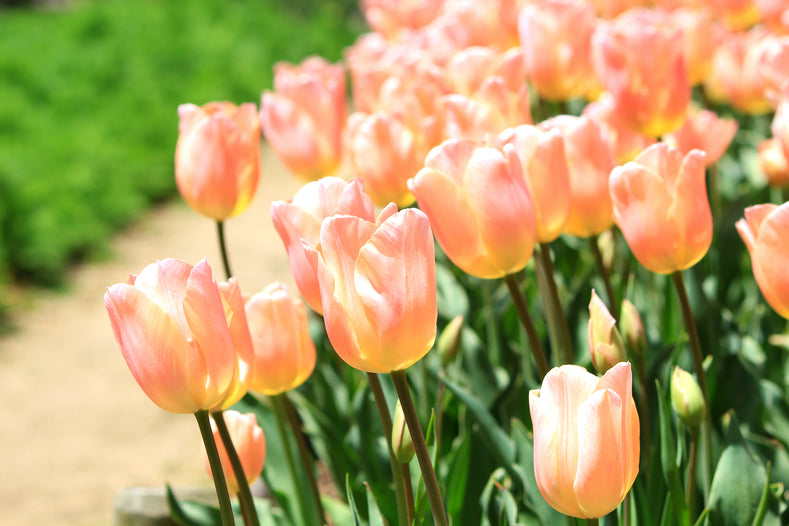
Spring has sprung and your bulbs have all bloomed, now what? What should you do with your Spring-flowering daffodils and tulips once they have finished flowering? Well, there are a couple of options, but firstly there are a few factors that need to be taken into consideration. Read on to find some tips and hints on the best aftercare for your Spring-flowering bulbs.
Daffodils
Sunny, cheerful daffodils are not only easy to grow, but they also naturalise well. This means, under the right conditions – good drainage and some sun during the day – you can leave the bulbs in the ground and they will bloom year after year, and multiply in numbers. Be aware though, if the bulbs get too wet, either through excessive rainfall or over-watering, they may rot.
Many people are happy to leave their daffodil bulbs where they are and enjoy their annual Springtime display. Others, however, may wish to dig the bulbs up and plant something else in that spot for Summer, replanting their daffodil bulbs again in Autumn. Other gardeners choose to dig the bulbs up to avoid them being damaged when they dig over their beds. Either way – whether you plan on leaving them in situ or digging them up for replanting - you should never cut off the old foliage until it has dried up completely. You can remove the dead flowers, but if the leaves are removed, the bulb's precious food supply is damaged. Daffodil leaves should remain attached to the bulb – even after they've completely yellowed - because they continue to absorb sunlight and nutrients, vital for producing good flowers the following year.
Once the flowering period has ended, you can reduce watering which will give the bulbs the message that the growing season is over. When the leaves have completely dried up, you can then lift and store your bulbs if desired, or cut off the foliage and leave the bulbs in the ground readying themselves until their next exuberant display.
Tulips
Tulips are another story. Unlike daffodils, with the exception of a few species including botanical tulips and certain hybrids - particularly the Darwin Hybrids - tulips do not naturalise so easily. Tulip bulbs are susceptible to rot, however if you have sandy soil you may be able to avoid this.
One thing to bear in mind: your second-year tulips will never be as showy as the ones you planted from DutchGrown bulbs last Autumn.
And the reason for this? Dutch growers spend years growing tulip bulbs until they reach the optimum size that produces the biggest and the best blooms. This is when you receive your bulbs from DutchGrown – when they are exactly at their peak. After this, the bulbs split into smaller bulbs and these may not even flower at all.
In addition, the bulbs you received last Autumn had been specially conditioned by exposing them to specific temperature ranges for set periods of time. This is not something that can be easily replicated at home. The science of cultivating tulips that produce the most stunning flowers has been developed over hundreds of years and is very precise.
That being said, if you would like to give lifting and storing your tulip bulbs a try, or if you want to leave them in the ground and try to naturalise them, follow exactly the same process as described above for daffodil bulb aftercare.
Storing Bulbs
To give your bulbs the best chance, it’s important to store them properly. The first thing to do after lifting the bulbs is to gently shake off the excess soil and leave them to dry in a cool, shady spot for a while. If your bulbs are too moist when they go into storage, they may rot. With that in mind, it’s important to never store bulbs in plastic bags and never pack too many layers of bulbs together. Good air circulation is vital to keep bulbs healthy. Paper bags, mesh bags, crates or even egg cartons (non-plastic) make good storage containers – just make sure they have good ventilation. Check your bulbs every now and then, and if you see any signs of rot, discard the diseased bulbs.
Happy planting!


